News

Don't Waste Money on Fancy Plastic Bits: What Actually Works on Your Bike

2026-07-24 0 Leave me a message

Let's be real—most riders treat plastic parts like they're just there to make the bike look pretty. Scratch 'em, crack 'em, who cares?

Wrong mindset.

Modern motorcycle plastics are functional gear. Crash bars, skid plates, hand guards—they can save your ass in a tip-over. And even the decorative stuff? Picking the right material and installing it properly means the difference between a part that lasts years and one that crumbles in months.

Here's the no-BS guide to motorcycle plastic accessories.

Step 1: Ask Yourself—"Is This for Looks or for Protection?"

Before you click "buy," figure out which category you're shopping for:

Type Examples What Matters
Cosmetic Side panel covers, chain guard covers, headlight trim Cheap and easy to replace. Don't overthink these.
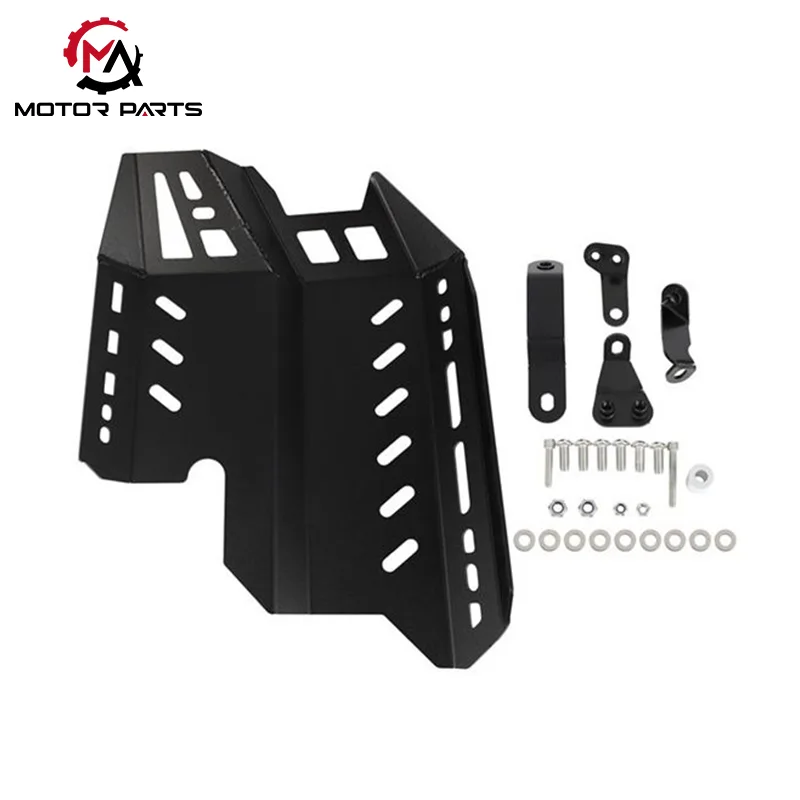
Protective Radiator guards, engine skid plates, hand guards, frame sliders Do not cheap out here. Wrong material = wasted money.

The one thing every rider should fit first: a radiator guard.

Why? One stone at highway speed = punctured radiator = stranded bike + €300 repair. A good guard costs maybe €50. Do the math.

What to look for: mesh holes around 3-5mm—too tight and you block airflow, too wide and rocks get through. Steel frame with plastic-coated edges is the sweet spot.


Step 2: Plastic Types Explained (Without the Marketing Fluff)

Not all plastics are created equal. Here's what you're actually buying:

Material What It's Like Good For Skip It For
ABS Hard, stiff, takes paint well OEM body panels Anything that takes hits—it cracks, doesn't bend
PP (Polypropylene) Flexible, tough, hard to paint Fenders, skid plates, inner panels Colour-matched show pieces
PA (Nylon) Expensive, wears like iron Off-road bash plates, peg guards Budget builds
PC (Polycarbonate) Clear, impact-resistant Windscreens, headlight covers Anything you dry-wipe with a rag (scratches instantly)

Real talk: Don't assume "genuine OEM" means better. Factory panels are usually ABS—they look great until you drop the bike, then they shatter. A decent aftermarket PP or PA part might bend, bounce back, and save you buying twice.


Step 3: Installation Mistakes That'll Cost You

Fitting plastics yourself is dead easy—until it isn't. Here are the three screw-ups I see constantly:

Mistake #1: Overtightening Bolts

You feel that "click" and think it's snug. Actually, you're one turn away from cracking the mounting hole.

Rule of thumb: finger-tight, then quarter-turn with the tool. That's it. Plastics expand with heat, so leaving a hair of slack prevents stress fractures.

Mistake #2: Forgetting the Rubber Grommets

Those little black rubber rings that came off your old panels? They're not optional. They absorb vibration and stop the plastic from rattling against the frame.

New panel doesn't come with them? Reuse the old ones. If you lose them, buy replacements—don't mount without.

Mistake #3: Pinching Wires

This one's sneaky. You bolt the side panel back on, everything looks fine. Two weeks later, your turn signal stops working or the ABS light comes on.

Why? You trapped the wiring harness between the panel and the frame. Every bump chafes the insulation until it shorts.

Fix: After fitting any panel, turn the bars lock-to-lock and check nothing's rubbing. Takes 30 seconds. Saves a tow truck.


Step 4: Maintenance That Actually Works (Skip the Fancy Sprays)

Plastics fade. Black turns grey. Clear turns cloudy. Deal with it.

But don't waste money on overpriced "plastic restorers"—most are just silicone oil. They look great for a week, then attract dust like crazy and wash off in the first rain.

Three cheap tricks that work:

  • Light scuffs on ABS/PP: Hit it with a heat gun on low (under 200°C) from about 30cm away. Move constantly. You'll see the scratch shrink back. WARNING: Do NOT try this on nylon (PA) or polycarbonate (PC)—they'll melt into a blob.

  • Faded black plastic: Wash with dish soap, dry it, then wipe on a thin coat of baby oil. Let it sit 10 minutes, buff off the excess. Lasts 2-3 months, doesn't collect grime.

  • Cloudy windscreen: Toothpaste. Non-gel, plain white paste. Rub gently with a soft cloth in circles, rinse off. Works better than half the "dedicated" polishes out there.

One hard rule: Never blast pressure washer water directly at plastic panel seams. The pressure will lift the edge of decals and peel paint. Use a hose or a damp rag with mild detergent.


Step 5: Repair or Replace—A Simple Decision Tree

Not every crack means buying new parts. Here's how to decide:

Damage Do This Skip This
Crack, no missing pieces Epoxy glue + reinforce the back with a plastic patch. Good as a spare or for non-stressed parts like fenders. Don't bother if it's a mounting point—it'll just crack again.
Torn mounting hole Replace. No glue job holds under vibration. Don't try to "fix" it with zip ties and hope.
Paint peeling badly If it's cosmetic: sand and respray (cheaper than new). If it's a protection part: replace immediately—peeling paint usually hides a hairline fracture underneath.

The Bottom Line

You don't need a full matching set of plastics. You don't need to replace everything at once.

Priority order for your money:

  1. Radiator guard — non-negotiable.

  2. Hand guards (if you ride off-road or commute in winter) — keeps wind and rocks off your fingers.

  3. Frame sliders — cheap insurance for low-speed drops.

  4. Everything else — replace when broken, not before.

Plastics are consumables, not heirlooms. Treat them like tyres or brake pads—they wear, they break, you replace them. Ride smart, spend smart, and don't let the shiny catalogue photos fool you.

Related News
Leave me a message
X
We use cookies to offer you a better browsing experience, analyze site traffic and personalize content. By using this site, you agree to our use of cookies.Privacy Policy
RejectAccept